Knitting Tips Every Beginner Needs for Neat Edges
- Blog Views : 250
- Symfonie Yarns
- 07Feb, 2025

Neat edges add a wonderful effect to your knitting project. The yarn looks better, the stitches look professional and you enjoy compliments. For beginners who have just learned to pick knitting needles and are working on the basic knit and purl for their projects, neat edges are a challenge. However, with a few tips up your sleeves, you can ensure neat edges for every project. From choosing the yarn for knitting to blocking the finished project, the right size of knitting needles as well as beginner knitting tips, a lot many things are responsible for neat edges. In this blog let’s walk you through the knitting tips for neat edges for beginners.
We will cover:
- Choosing the right yarn for beginners
- Understanding yarn weight and needles
- Master the Slip Stitch Edge
- Maintain Even Tension
- Practice Garter Stitch Borders
- Block your projects
1. Choose the Right Yarn for Beginners
The foundation of neat edges starts with the yarn you use. As a beginner, understanding the yarn is essential for the project whether it’s a small dishcloth to scarf. For understanding the yarn, knowing about the fiber and weight is essential. Another factor is the color, especially in the case of hand-dyed yarns for a skein in variegated shades. The different colorways are creative but need careful planning so that the color effect looks uniform and makes the edges look untidy.
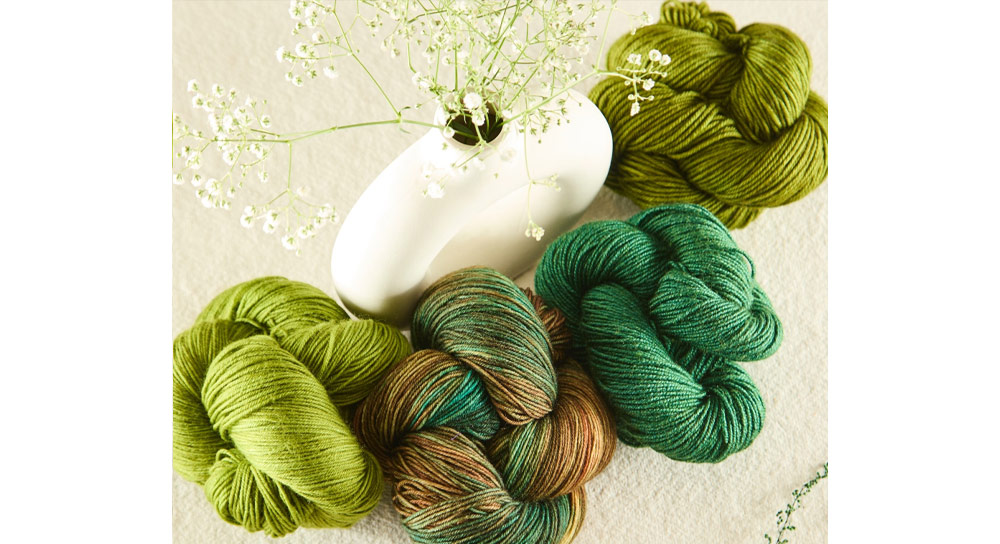
A merino wool yarn is preferred by a lot of knitters. It is soft, durable and does well for the knitting project as well as the crafting experience. Extrafine merino wool makes sure to even tension. However, you can explore merino-polyamide and merino-silk blends too for your beginner scarf, shawls and other projects. Learn more about the best knitting yarn for beginners.
Also, keep in mind the yarn weight guide. Work with worsted-weight yarn when you are new to knitting, it is forgiving of mistakes and balances the edges. DK weight yarn is lightweight and allows you to learn and read your knitting.
2. Understand Yarn Weight and Needles
Yarn weight plays a critical role in how your edges look. Refer to a yarn weight guide to pair your yarn with the correct knitting needles. Using needles that are too large or too small for your yarn can result in uneven edges or overly loose stitches.
For beginners, start with DK weight yarn and size 4mm needles for an easy-to-manage setup. Explore our blog on yarn weights, the complete guide for beginners.
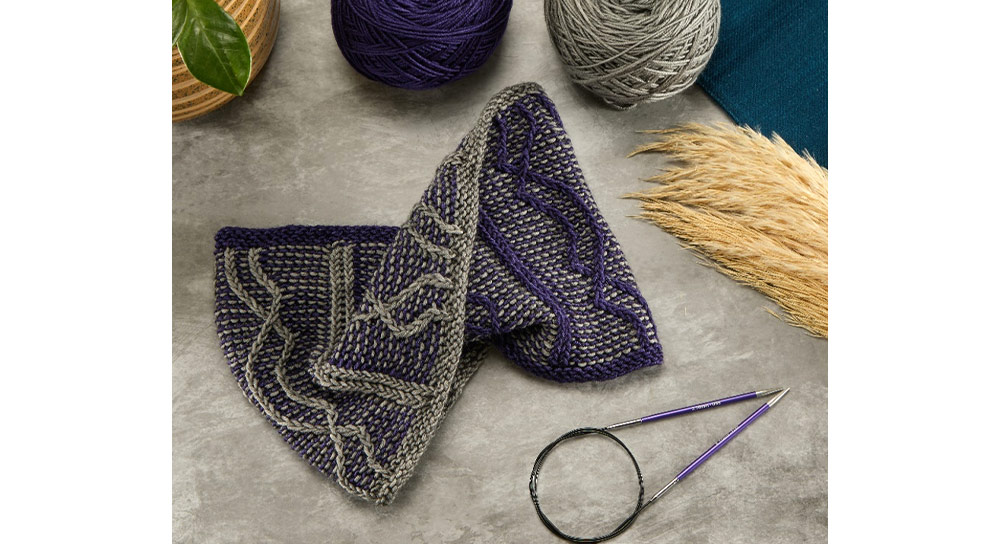
Follow The Leader Cowl
3. Master the Slip-Stitch Edge
Simple and easy to remember, it creates beautiful sides and works great with any stitch pattern. To make this type of selvedge stitch, cast on 2 extra stitches. For example, if your pattern tells you to cast on 50 stitches, cast on 52. Then slip the first stitch and purl the last stitch of every row. If the chain of stitches is too loopy and you want to fix it, pull the yarn a bit after you work the second stitch of every row. Each of the “links” of the chain is created every two rows.
Slipping the edge stitch reduces bulk and prevents edges from curling, which is especially helpful when using lightweight yarn.
4. Maintain Even Tension
One of the most common challenges beginners face is inconsistent tension. Uneven tension can cause your edges to appear wavy or loose. Hold your yarn in a way that feels comfortable and practice maintaining a steady rhythm while knitting.
Working with a soft yarn like extrafine merino wool can make tension control easier, as it naturally provides a bit of stretch and bounce.
5. Practice Garter Stitch Borders
Adding a garter stitch border is another effective way to achieve neat edges. Garter stitch is created by knitting every row. This stitch pattern lies flat, making it perfect for edges. For scarves or blankets, knit the first and last 3-4 stitches of each row in garter stitch while working the rest of the pattern in stockinette stitch. This technique frames your project beautifully.
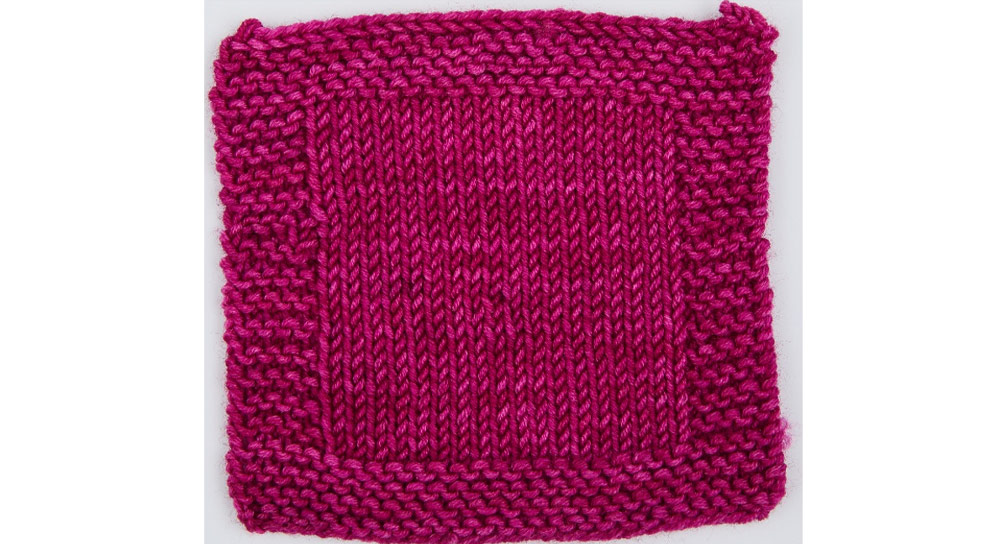
Garter Stitch (Outside) & Stockinette Stitch (Inside)
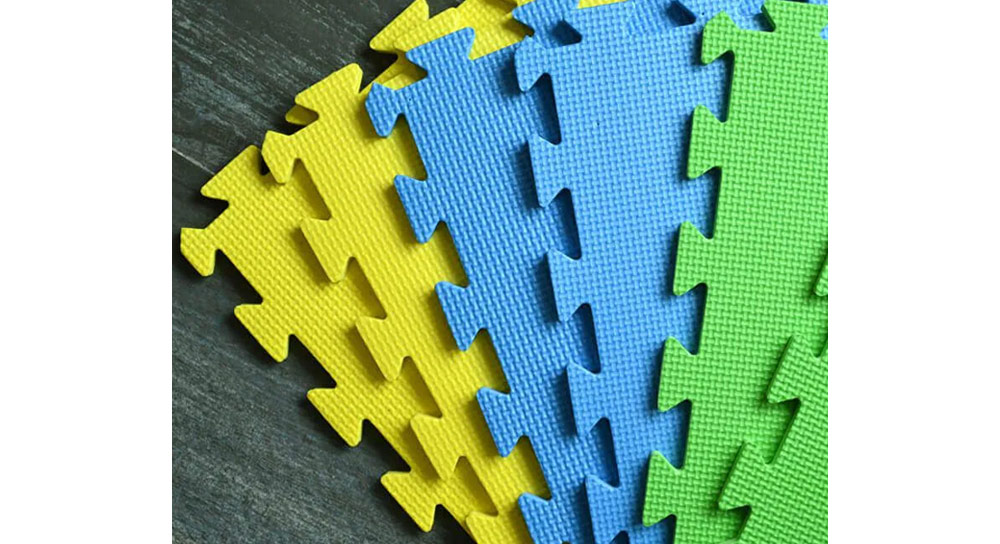
6. Block Your Projects
Blocking is the final step to ensure your edges look their best. It’s the process of wetting or steaming your finished project and shaping it to the desired dimensions.
Blocking smooths out uneven tension and defines edges, giving your work a professional finish. This is especially important when working with lightweight yarns that may lose their shape without proper blocking.
Always follow the blocking instructions mentioned on the yarn label. Use blocking mats and pins for precise shaping. Symfonie Yarns’ Viva, Bella and Terra are machine-washable yarns that block beautifully. Luna’s merino-silk yarn blend requires a delicate handwash.
Besides these above tips you can explore double garter stitch borders, seed stitch edges and even i-cords, however, for your first projects these tips are handy.
Knitting neat edges is a vital skill for every knitter. Remember to choose the best yarn for knitting, pair your yarn with the appropriate needles. Focus on maintaining even tension, master slip-stitch edges, and using tools like stitch markers to ensure clean results.
-
- 16 Apr,2025
-
- 10 Apr,2025
-
- 07 Apr,2025
-
- 04 Apr,2025
-
- 01 Apr,2025
-
- 28 Mar,2025
Copyright © Symfonie Yarns 2025 - all rights reserved | RSS Feed